

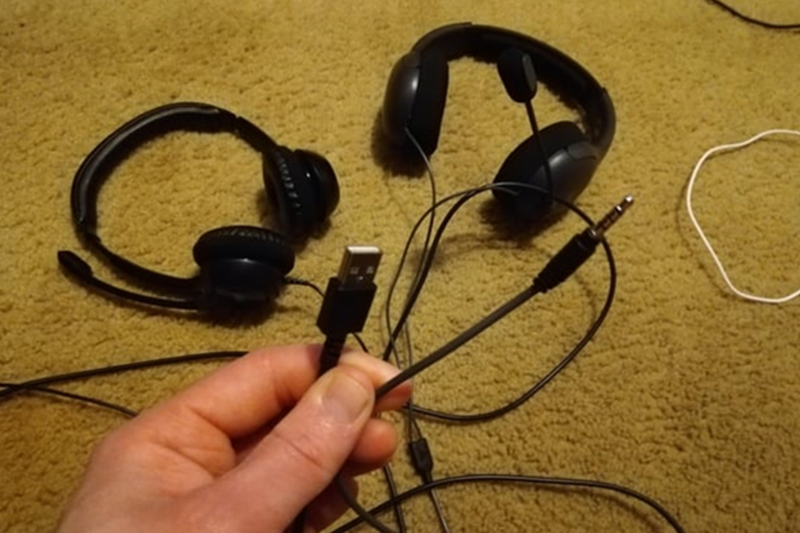
Volume Control Introduction
If you’ve encountered issues with the volume control on your headphone wire, rewiring it can be a cost-effective solution to restore functionality. In this guide, we’ll walk you through the process of rewiring the volume control on your headphone wire, step by step. Whether you’re experiencing sound distortion, intermittent volume changes, or complete loss of volume control, this guide will help you troubleshoot and fix the problem.
Assessing the Issue
Before you begin rewiring the volume control, it’s essential to assess the extent of the problem. Start by inspecting the headphone wire and volume control unit for any visible damage, such as frayed wires, loose connections, or physical defects. Additionally, test the volume control by adjusting it while listening to audio to determine if the issue lies with the control itself or the wiring inside.
Disassembly and Access
To access the wiring inside the volume control unit, you’ll need to disassemble the headphone wire carefully. Start by removing any covers or casing around the volume control unit using a small screwdriver or pry tool. Be gentle to avoid damaging any internal components. Once the unit is exposed, locate the solder points where the wires are connected.
Rewiring Process
Carefully disorder the existing wires from the volume control unit using the soldering iron and wire cutters. Take note of the wire color coding or markings to ensure correct reconnection later. If the wires are damaged beyond repair, replace them with new ones of similar gauge and length. Strip the ends of the new wires and tin them with solder for easier connection.
Soldering and Insulation
Solder the new or repaired wires to the appropriate solder points on the volume control unit, following the original wiring configuration. Use a small amount of solder and ensure a secure connection without any excess solder or stray wires. Once soldered, insulate the connections with heat shrink tubing or electrical tape to protect against short circuits and ensure durability.
Reassembly and Testing
After completing the rewiring process, carefully reassemble the headphone wire and volume control unit, ensuring that all components are properly aligned and secured. Test the volume control functionality by adjusting it while listening to audio to verify that the issue has been resolved. If necessary, make any adjustments or repairs before finalizing the reassembly.
Conclusion
Congratulations! You’ve successfully rewired the volume control on your headphone wire, restoring its functionality and extending its lifespan. By following this step-by-step guide and exercising caution throughout the process, you’ve saved money on potential repairs or replacements and gained valuable skills in headphone maintenance and repair. Enjoy your restored headphone audio experience!
