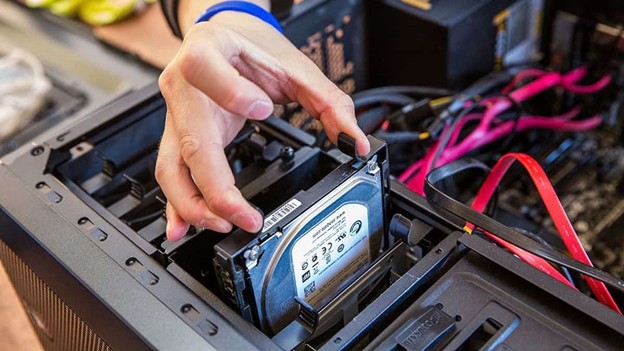
Finding the hard drive on your computer is essential for tasks like managing storage, checking space availability, or troubleshooting issues. Here’s a step-by-step guide to help you find and access your hard drive, depending on your operating system:
Discovering the Basics of Hard Drives
A hard drive is the storage hub of your computer, where all your files, documents, and software are stored. Understanding its location and functionality is crucial for efficient use of your device.
Locating Your Hard Drive
To locate your hard drive on a Windows computer, simply navigate to ‘This PC’ or ‘My Computer’ on your desktop. Your hard drive will typically be labelled as ‘Local Disk (C:)’ or with a custom name you may have assigned.
Accessing Your Hard Drive
Double-click on the hard drive icon to open it and explore its contents. You will find folders such as ‘Program Files’ for installed software and ‘Users’ for individual user files and documents.
Managing Your Hard Drive
To manage your hard drive space, right-click on the hard drive icon and select ‘Properties’. Here you can view the amount of used and free space, run disk cleanup to remove temporary files, and defragment the drive for optimal performance.
Understanding Storage Capacity
Hard drives come in different storage capacities such as 500GB, 1TB, or more. It’s essential to monitor your available space and consider upgrading to a larger drive if you frequently run out of storage.
Windows Operating System
1) Open File Explorer:
You can open File Explorer by clicking the folder icon on the taskbar, pressing Windows + E on your keyboard, or finding it in the Start menu.
2) Locate the Hard Drive:
In File Explorer, click on “This PC” or “My Computer” on the left sidebar. This will display all the drives on your computer.
Your hard drive(s) will appear with a letter designation (e.g., C:\, D:). The primary hard drive where the operating system is installed is typically labeled C:.
3) Check Hard Drive Properties:
To view details like used and free space, right-click the hard drive icon and select “Properties.” A dialog box will show you the total, used, and free space on the drive.
macOS Operating System
1) Open Finder:
Click the Finder icon in the dock or press Command + Space to open Spotlight, then type “Finder” and press Enter.
2) Locate the Hard Drive:
In Finder, click “Go” in the menu bar and select “Computer” or press Command + Shift + C. This will show you all drives connected to your Mac.
Your hard drive is usually named “Macintosh HD” or something similar.
3) Check Hard Drive Properties:
To view details like used and free space, right-click (or Control-click) on the hard drive icon and select “Get Info.” A dialog box will show the total, used, and free space on the drive.
Linux Operating System
1) Open File Manager:
The method may vary depending on your Linux distribution and desktop environment. Typically, you can find the file manager in the applications menu or use a keyboard shortcut like Super + E.
2) Locate the Hard Drive:
In the file manager, look for “Computer” or “Devices” to find the hard drive. It may also be represented with a symbol like /dev/sda or something similar.
3) Check Hard Drive Properties:
To view information like used and free space, right-click the hard drive icon and select “Properties” or “Information.” The dialog box will display details about the hard drive.


